
Quick Answer: What Should a Developer Onboarding Flow Include?
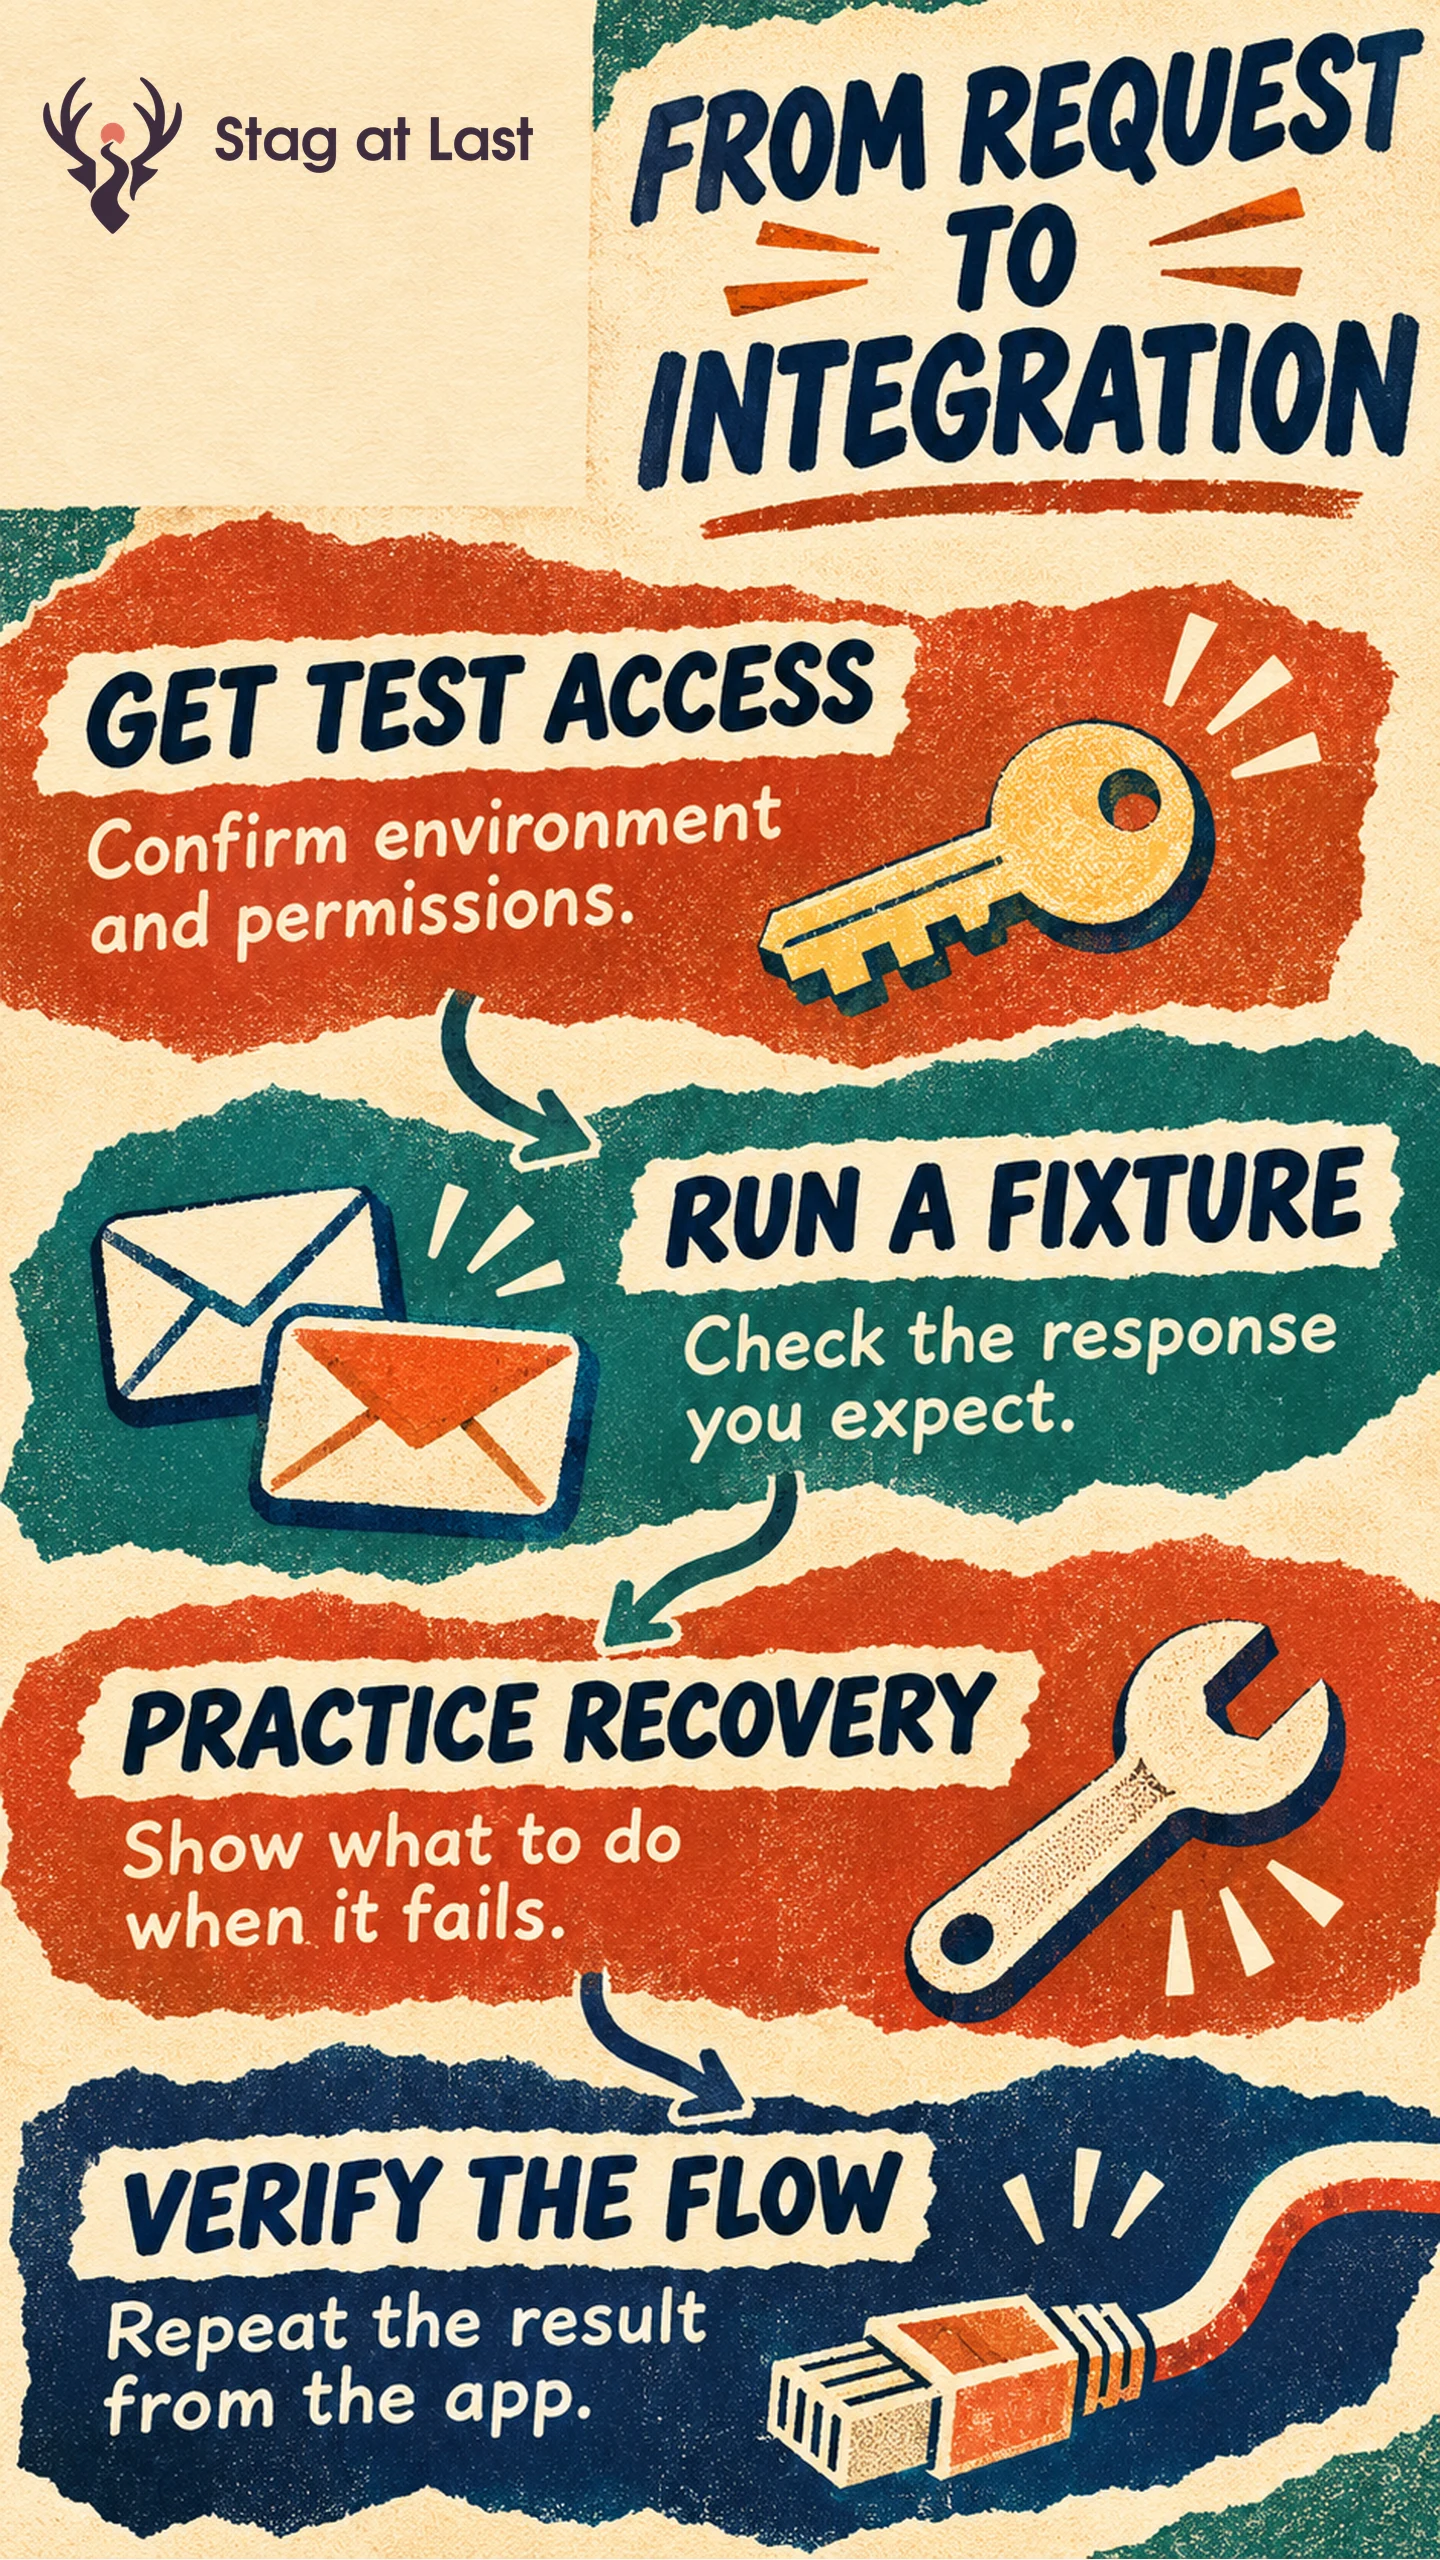
Design developer onboarding around a result the new integration can repeat. A successful first request confirms part of the setup. The next steps should verify the actual workflow and show the developer how to recover when it fails.
- Confirm test environment access, prerequisites and credential handling.
- Run one synthetic fixture and compare the response with a known result.
- Test one realistic failure and the documented recovery.
- Repeat the useful result from the developer’s own application and check readiness for production.
Give each stage an observable checkpoint. The next step should be clear when a checkpoint fails.
Imagine onboarding a retailer to a delivery estimate API. A valid sandbox response confirms that a request completed through the test path. A checkout page that can show the expected estimate, handle an unavailable result and still let the customer proceed gives the developer stronger evidence that the integration works.
Define the First Useful Result
Pick one task and state the outcome before writing instructions. For the delivery API, the evaluator sends a synthetic parcel and sees a delivery window for a supported region. Choose a stable fixture and name the expected fields or visible result. Keep request success and product activation as separate checkpoints if the first request does not create value on its own.
List the environment, permissions, prerequisites and access steps at the beginning. Explain who approves access and what a person can do while they wait. The claims on the API product page should match the version and limits the walkthrough covers.
Make the First Request Reproducible
Provide a maintained example with synthetic data and test credentials, plus a way to confirm that the request reached the right environment. Stripe, for example, documents separate API keys for testing and live use. [1] Its guidance also says to keep secret keys out of checked-in source or configuration files. [1] Design your example so nobody needs to paste a real credential into a public issue, shared document or sample repository.
Show the expected output beside the input. GitHub’s REST API quickstart explains that responses include a status code and headers, and can also contain a body. [2] In your own quickstart, say which fields confirm success and where to look if the response differs. For the delivery estimate, confirm a delivery window is present and usable by the caller.
Teach Recovery Before Production
| Checkpoint | What to verify in a test environment |
|---|---|
| Credential missing or invalid | The error points to the environment and permissions to check |
| Valid request with no estimate | The application shows an appropriate fallback |
| Timeout or temporary failure | The caller follows documented recovery behavior |
| Repeat test | The application produces the expected outcome without unintended effects |
Run one failure scenario before inviting broader testing. Use the API’s documented retry and idempotency rules, especially when a request can create or change something. For the delivery example, use a fixture that returns no estimate and check that checkout follows the agreed fallback. Log enough to diagnose the problem while excluding secrets and unnecessary customer data.
Measure Where New Integrations Stall
Define milestones for access granted, first valid response and verified workflow. For a seven-day completion rate, count eligible evaluators who verified the working integration within seven days of receiving test access. Divide by all eligible evaluators granted access who have had the full seven days. Count each evaluator once and record pending access separately. Use this breakdown to distinguish access delays from workflow problems. The time-to-value guide can help you choose a start event and handle incomplete cohorts.
Before launch, ask a new evaluator to work through the guide with no extra instructions. Capture the first unclear step and the exact signal they expected to see. Update the guide, rerun the scenario and give a named owner responsibility for future version changes.
Keep Onboarding Instructions in Sync Across Languages
If your public onboarding pages use multilingual WordPress, verify that translated instructions point to the right environment and preserve code identifiers. Include a technical walkthrough of the localized page when evaluating a translation workflow.
FAQs About Developer Onboarding
Is a successful HTTP response enough to count activation?
A successful response can confirm the first request. Define activation around the first useful result for your product, such as a working estimate shown by the integration.
Should onboarding start with an SDK or a raw HTTP example?
Choose the route that matches your main audience. Provide the expected result and prerequisites either way, and offer a reference route when developers need to inspect the request directly.
What if production access takes manual approval?
State the requirement and what it unlocks. Let eligible developers test safely while they wait where possible. Measure approval delay separately from time spent implementing the workflow.
Sources
[1] Stripe. API keys
[2] GitHub. Getting started with the REST API